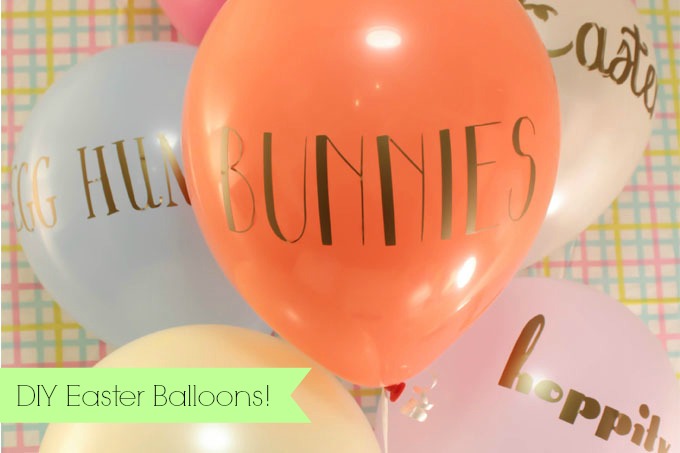

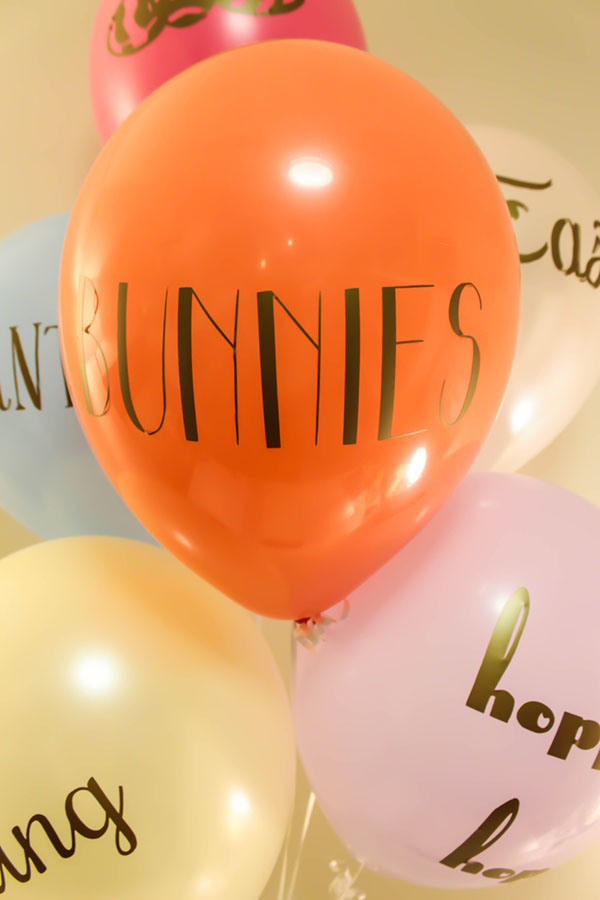
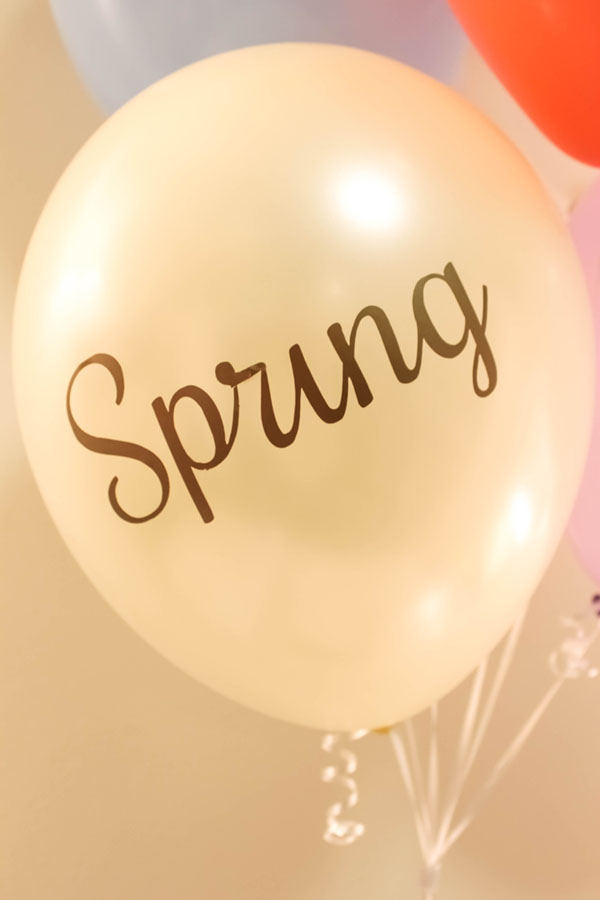
Lovelies, I have a super fun DIY Easter project that will add a lovely detail to your Easter celebrations. I am going to show you step-by-step how to make Easter typography balloons! Typography balloons or balloons with words are so trendy right now and we are loving all of the different looks and designs to them. We love using the Cricut and the Circuit vinyl to make our wordy balloons seamless and beautiful and easier than writing words by hand. I used pastel colored balloons to really bring out the spring colors for and added gold vinyl words to them because we all know everything looks better in gold! These DIY Easter balloons are really easy to make but what I love about this project is that is it so versatile. It really can be used for any celebration!

What You’ll Need:
● Balloons (your choice of colors-pastels work great for Easter & Spring)
● Cricut Explore
● Cricut Mat
● Cricut Tool Pack
● Gold Vinyl (other colors work wonderfully too!)
● Cricut Transfer Tape
● Cricut Weeder
● Word Document
● Your Favorite Fonts
Step-By-Step Guide to Make These Beauties:
1. Find Your Favorite Font and use a word program to type out your favorite Easter word or saying. We found some really amazing FREE Easter fonts from Lolly Jane that are perfect for this project.

2. Take a snippet picture of the word(s) and save it to your computer.

3. Open up Cricut Design Space and start a new project.

4. Click on the upload your own photo option.


5. Find your photo of your word(s) and upload it.
6. Save it as a simple image.

7. The next screen will have you select areas you want to keep and ones you want to remove. Click on the white parts of the photo only. This will just leave the black text to be cut.


8. Save this as a cut image.


9. Select your design and upload it to the design space. Size it accordingly. For balloons, anything over 7 inches wide is good.


10. Now you’re ready to cut! Prepare your vinyl on the mat. We typically cut it to size of the mat.


11. Load it into the Cricut and press go! (Then watch magic happen!)

12. Seconds later you have a beautifully cut vinyl word.

13. Remove the surrounding vinyl from around the word(s).

14. Weed out the small areas of vinyl with a Cricut Weeder.


16. Transfer vinyl word(s) to transfer paper.


17. Line up the word(s) to your balloon and push down gently to apply the vinyl to it.

18. Slowly remove the transfer tape from the balloons leaving the word(s) in place. Slow means slow here, you don’t want to pop the balloon. Pulling diagonally to remove the tape also helps.

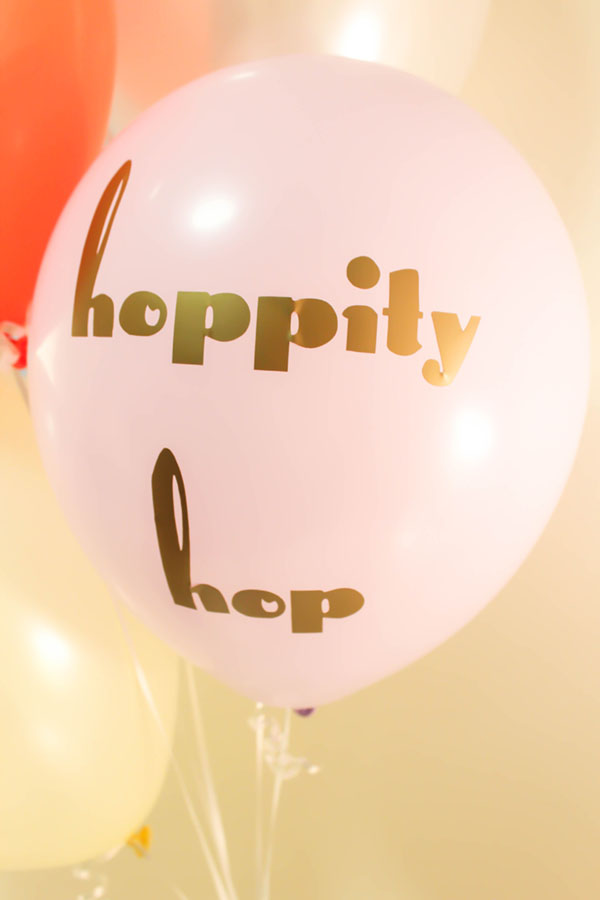
There are all sorts of fonts that you can use to really make your designs stand out on your custom balloons.
We love mixing the fonts and words for a really whimsical look that is perfect for Easter.
Be sure to shop your favorite Jo-Ann Fabric and Craft Store for other lovely vinyl colors to really make these balloons yours!
Disclosure: Compensation was provided by Jo-Ann. As always, all thoughts, opinions, and designs are from B. Lovely Events. Thank you for supporting the sponsors that enable us to keep the creative content coming for you!