Lovelies! Today we have another project using the New Cricut Papers that are exclusively at JOANN Fabric & Craft Stores. Cricut machines are great to make cards (and pretty much everything else!) and this You’re a Gem card has our heart! Gems, geometric and geodes are so popular right now and rightly so because they are so lovely. When you mix their already chic pattern with shiny metallic colors, it’s heaven! We love the new metallic foil colors of the new Cricut papers. They are perfect for cutting shiny gems from like the ones on this gem card. We will show you exactly how to make this card step by step and then you can give it to any gem in your life! Let’s get started!

JOANN Fabric & Craft Stores have everything you need, including the new Cricut papers that are exclusively at their stores:
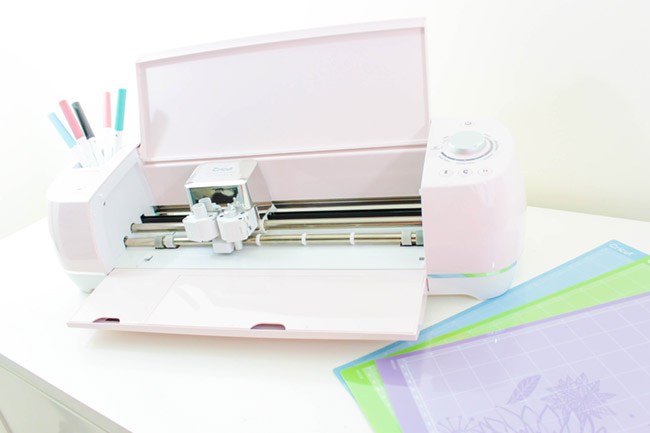
• Cricut Explore Air 2– We love the Rose colored one!
• New Cricut Foil Paper Classic Sampler
• New Cricut Shimmer Paper Classic Sampler
• New Cricut Pastel Foil Paper Sampler
• Cricut Standard Cutting Mat
• Cricut Tool Set
• Small Black Foam Adhesive Squares
• Glue Gun & Glue


To Get Started: You are going to design your card in the Cricut Design Space. There are so many ways to go about doing this. This card was inspired and adapted from the Cricut Card Project, You’re A Gem from Kim Byers.
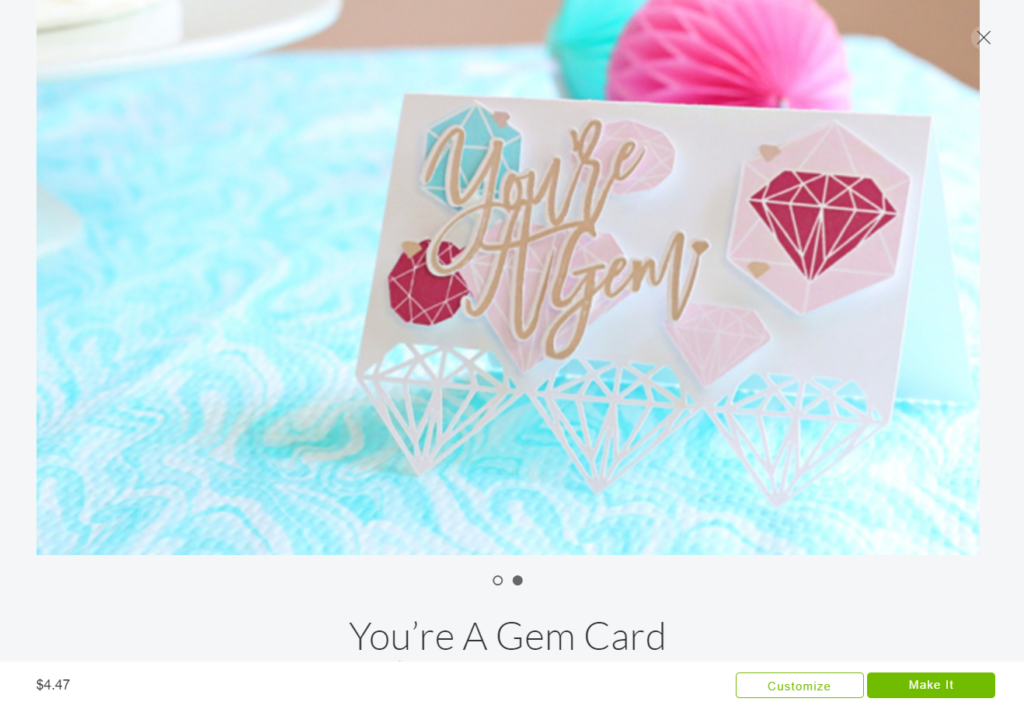

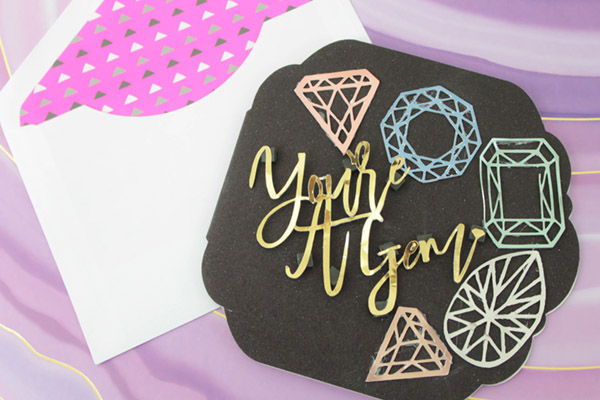
We just love the look of the card and how chic, yet whimsical it is. We wanted actual cut out gems on my card, the one pictured above utilized printed cards.
Here is what we used from the Cricut Design Space:
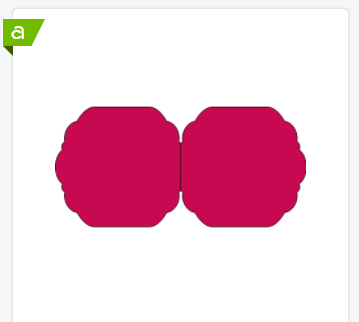
• Card Outline #M30473

• You’re A Gem Cutout #MECB1A3
• Gem Cutouts
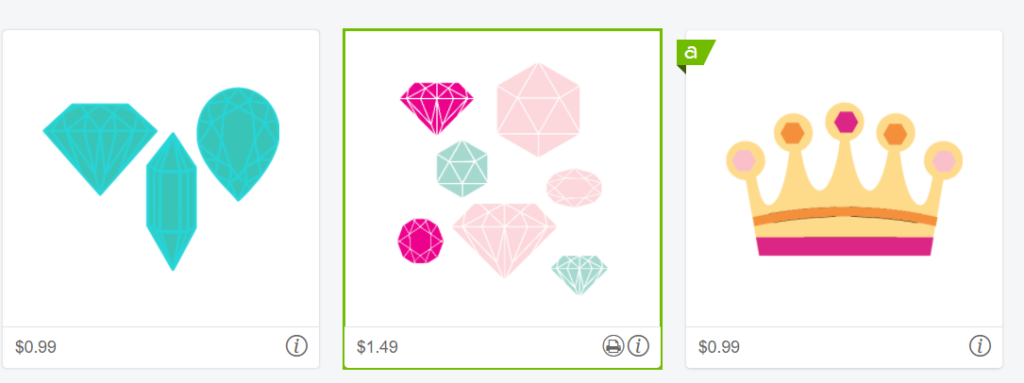

TIP: You can also upload your own preference of gem silhouettes into the Design Space and cut those out as well.
Next, combine your card elements into the Cricut Design Space. This will help you size everything to scale so everything fits together.
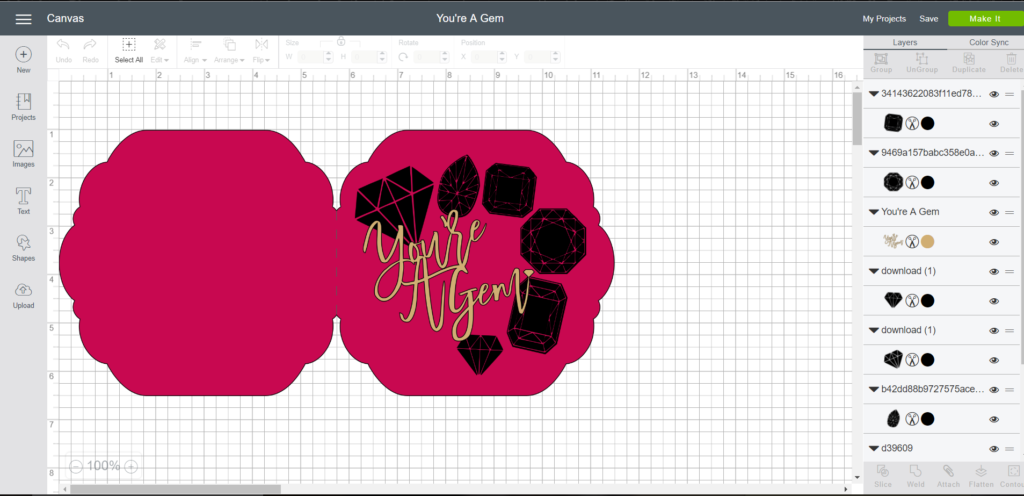

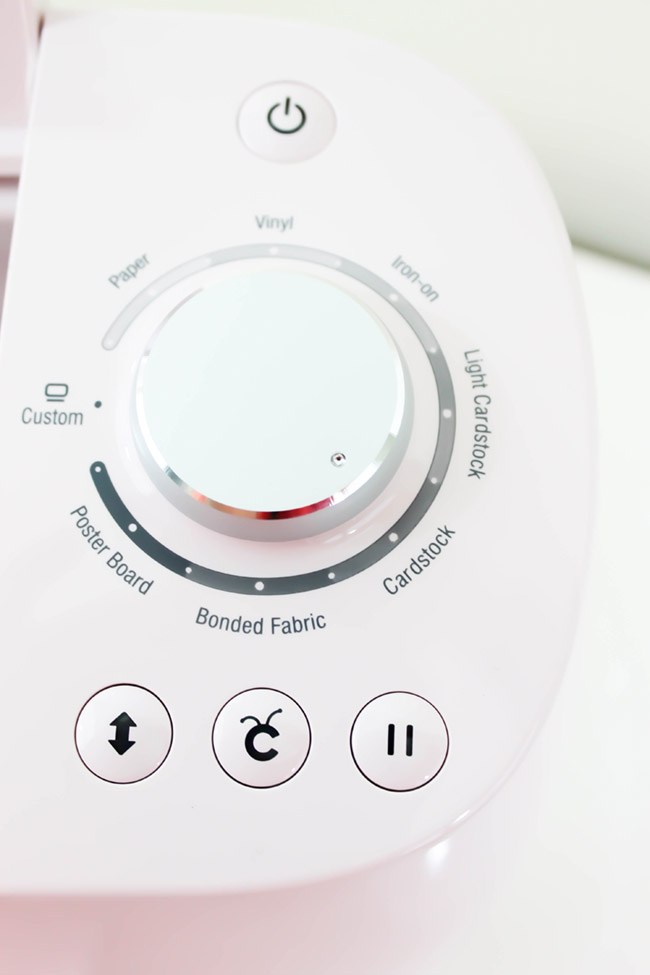
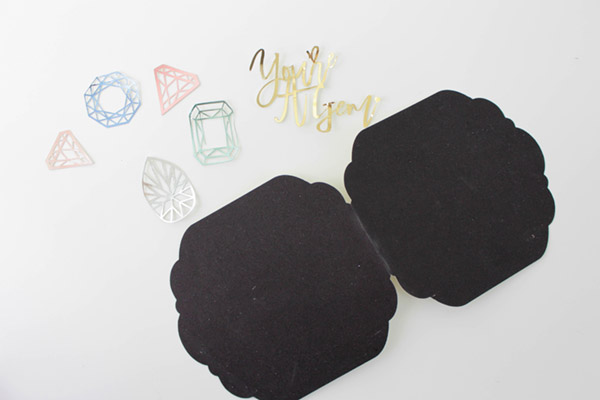
Then you are going to hit make it in the corner to it started. Take out your standard mat and a black sheet of the Cricut Shimmer Paper. Set your Cricut Explore Air 2 to Card Stock mode, select the card outline in the design space, hit continue, select your Cricut machine and hit the go button! Watch it cut its magic.


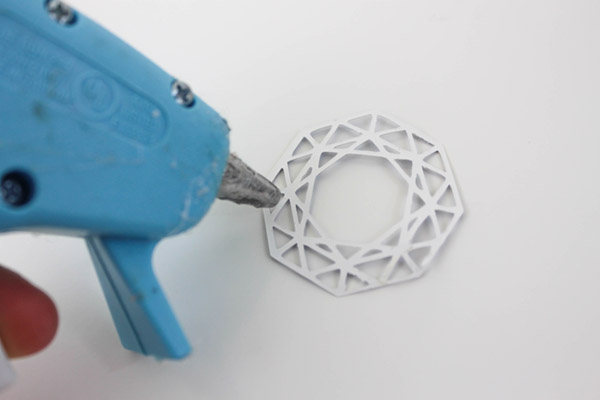
For The Gems, you will want a different foil color for each gem. Because of this, it is best to cut each gem 1 at a time. To do this, you will just have that single gem in the design space pattern in the design space. You can delete all the other elements out of your design space when you combined them all together and leave just 1 gem. Add your foil paper to your cutting mat and load it into the Cricut. Cut each gem Cricut machine with the same setting and process as you followed for the card outline.
Then take your weeding tool from the Cricut tool set and remove the gem middles from the cut image. Leave just the outline of the gem.
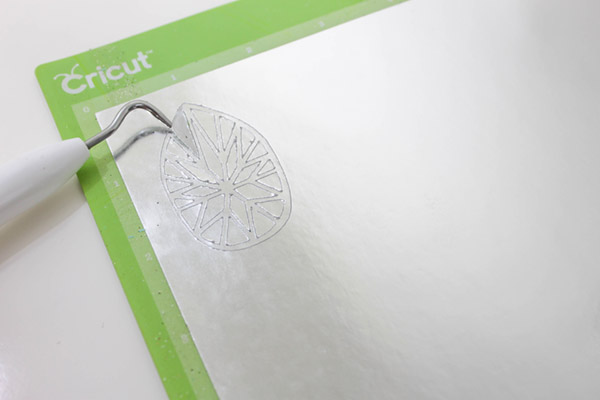
Once 1 gem is cut and removed from the mat, go back to the design space, add the next gem pattern and then cut that one out until you have all the gem designs that you would like for the card.
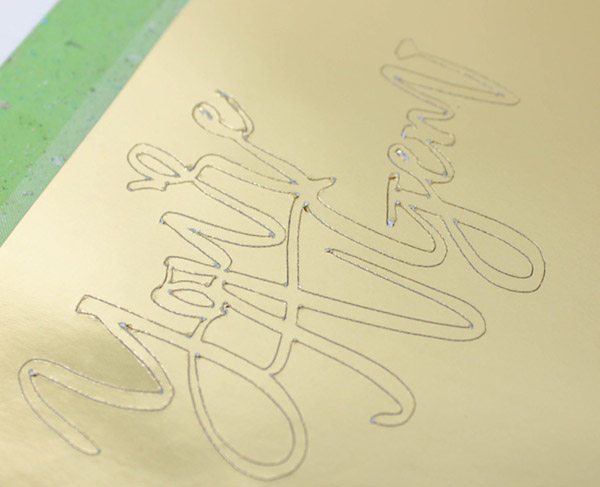
Lastly, select the You’re A Gem word cut in the design space and cut that out as well following the same mode and process as you followed for the card outline and gems. I would recommend going with a gold foil for the words because it works in perfect contrast with the black shimmer card backing that it will be affixed to. Once cut, weed this out as well.

Now you have all of the pieces, you are ready to make your card!
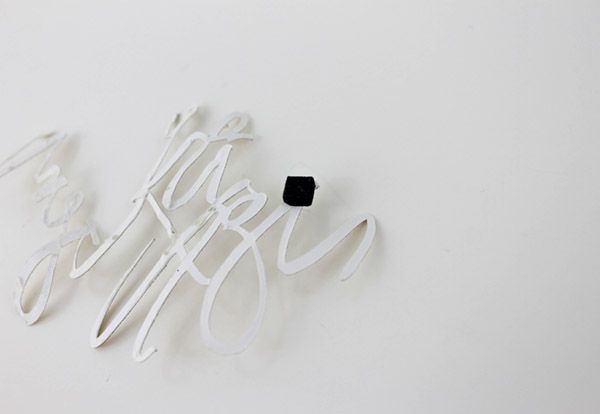
Take your adhesive squares and add them to the back of the You’re A Gem cut out. Position the adhesive to outside edges of the letters so the adhesive is semi hidden by them. Adding these adhesive squares will give the card some dimension which is a nice touch to the overall look.

Lightly place the letters on the front of the card and move around until you find your ideal location. Then press down to secure to the card.
Heat up your Glue Gun. While it is heating up, position your gems around the You’re a Gem words on the card. Once you have those locations on lock, you can go ahead and glue them in place.
That’s it! Your card is officially made. You can also cut out an envelope using a pattern from the Cricut Design Space or just give it as is!

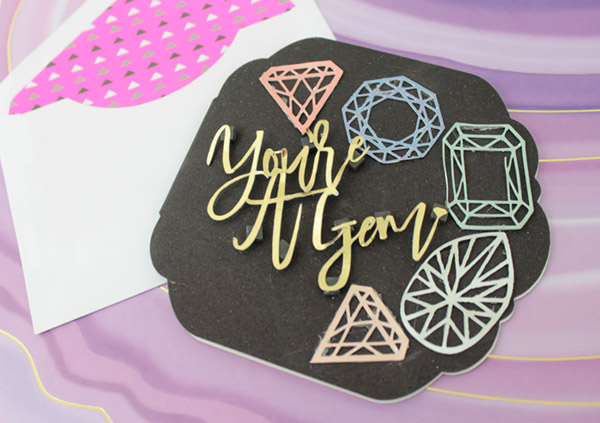
I love the metallic gems colors around the pretty gold wording. The shimmer black paper adds a nice sparkle element to the card too that brings the gem theme even more to life.
Don’t forget to share your makes on social media and use the hashtag #handmadewithjoann to share it with everyone!