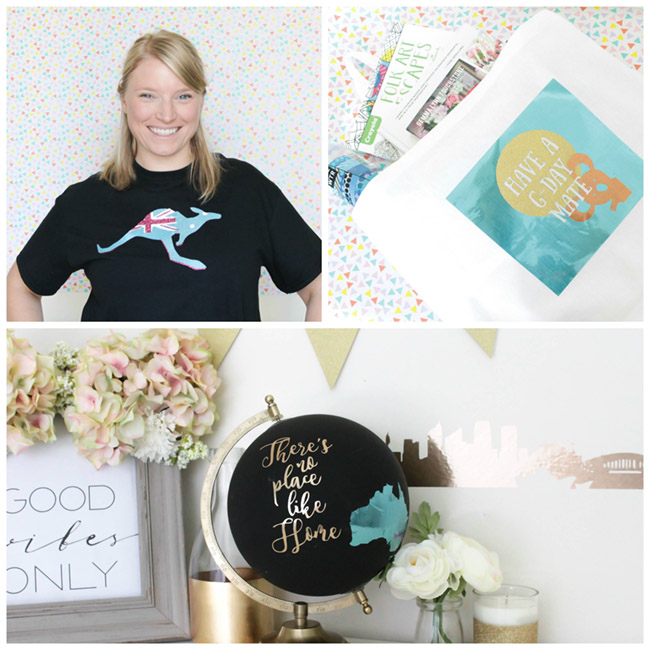

Lovelies, we have great news! This fall, Cricut ® is launching for the first time in Australia. That’s right, Australia! Love that Cricut® is opening up globally. Everyone should get to know the benefits of Cricut! T®o celebrate, we created 3 special Australia themed Cricut ® projects. There is a kangaroo Australia flag shirt that we just love, a G-Day mate tote that is seriously too cute and a “There is no place like home,” home décor globe with a heart on Sydney that is fabulous! The best part is, we will show you how to make each one. We have the step by steps on how to make these 3 Australian Cricut® projects that celebrate Australia and Cricut ®!
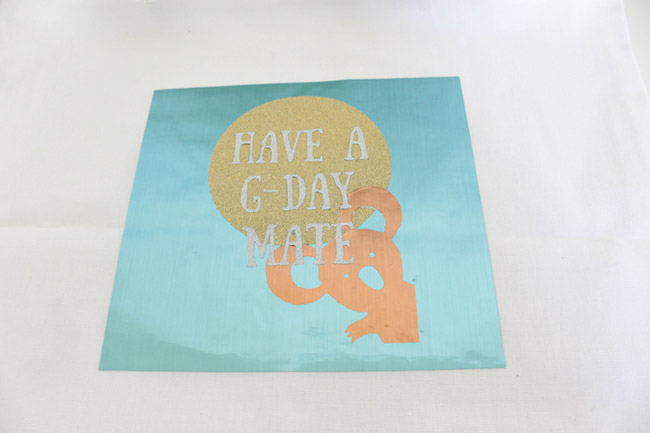
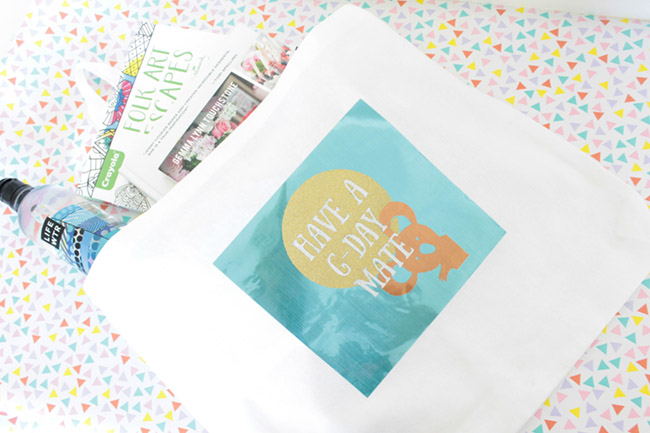
Have a G-Day Mate Tote
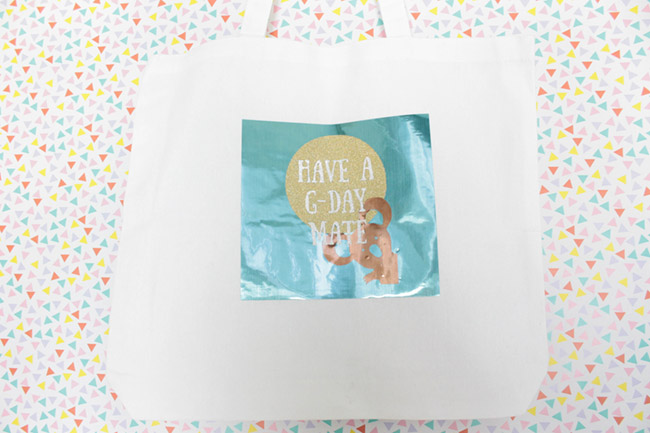

The koala on this is so cute, plus we love this saying, Have a G-Day Mate. You can do iron on or adhesive vinyl for this project. It’s a little tricky application process, but we will take you through it every step of the way!
Here is what you need:
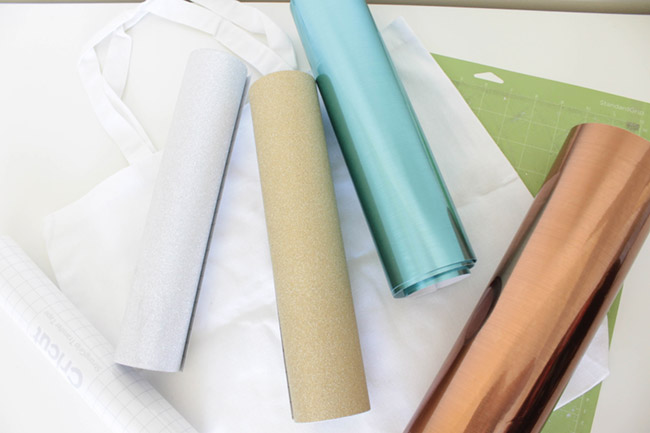
- White Canvas Tote
- Cricut ® Blue Adhesive Foil Vinyl
- Cricut ® Gold Glitter Vinyl
- Cricut ® Silver Glitter Vinyl
- Cricut ® Copper Adhesive Foil
- Cricut ® Standard Cutting Mat
- Cricut ® Machine- We have the Explore Air 2 in Mint
- Cricut ® Strong Grip Transfer Tape
- Cricut ® Weeder
Let’s Get Started!
Prep
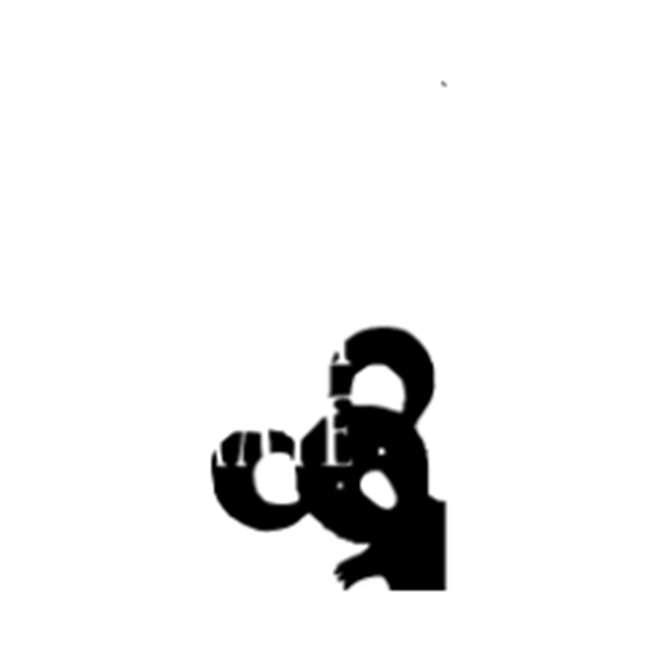
You first want to save these 3 photos on your computer. They are already cut into segments for the project as we will be adhering these in 3 sections.
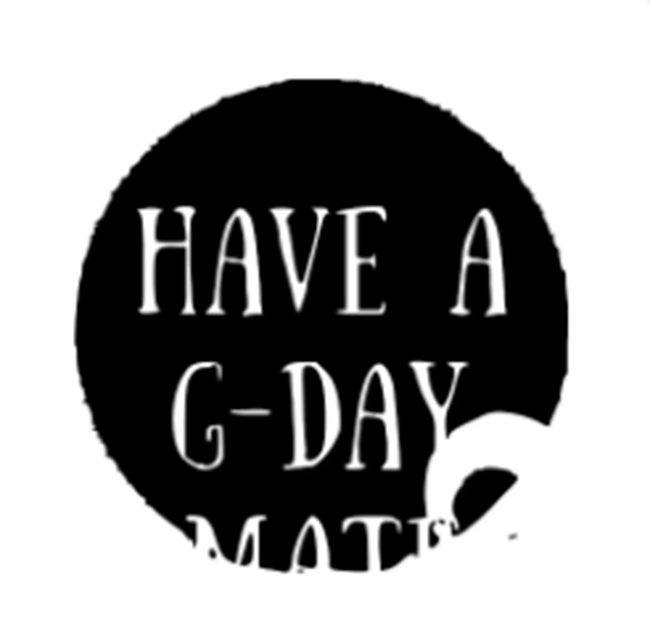


Once saved, start a new project on the Cricut Design Space. Upload each the photo as a cut image. Remove all of the white from the image and save the image as a cut image.
Size:
Have a G-Day Mate Sun to 4.271X4.241
Have a Good Day Mate Words to 3.208X3.728
Koala to 3.088X6.917
Rectangle to 8.03X7.40
Tip! Make sure all of the photos line up in the canvas so when they are cut, they will line up again.
Cut
Mat 1- Gold Glitter Vinyl 6X6 for Have a G-Day Mate Sun
Mat 2- Silver Glitter Vinyl 6X6 for Have A Good Day Mate Words
Mat 3- Copper Vinyl 6X6 for Koala
Mat 4- Blue Vinyl 9X9 for the Rectangle

Assemble
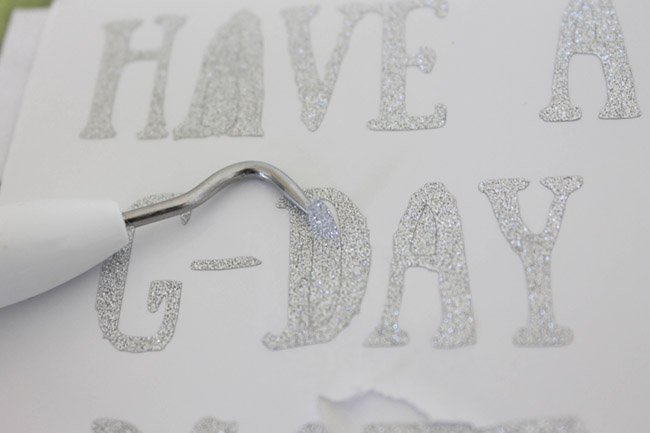
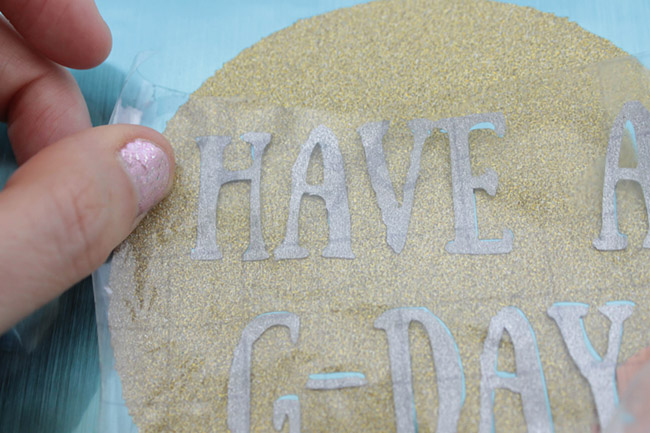
Weed the images from the mats.
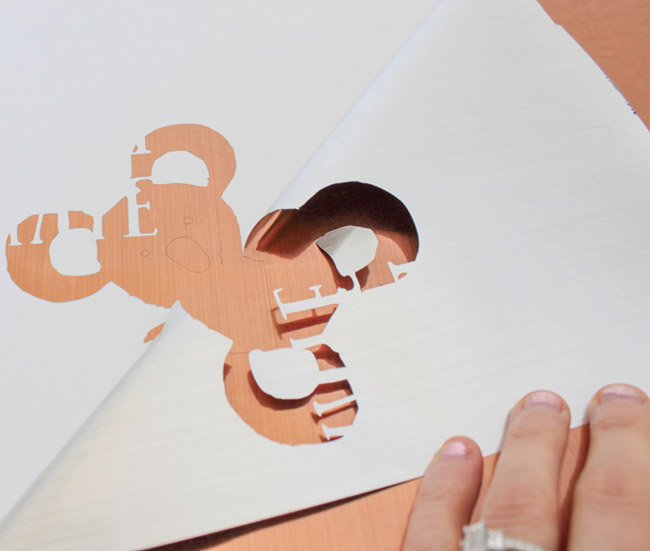

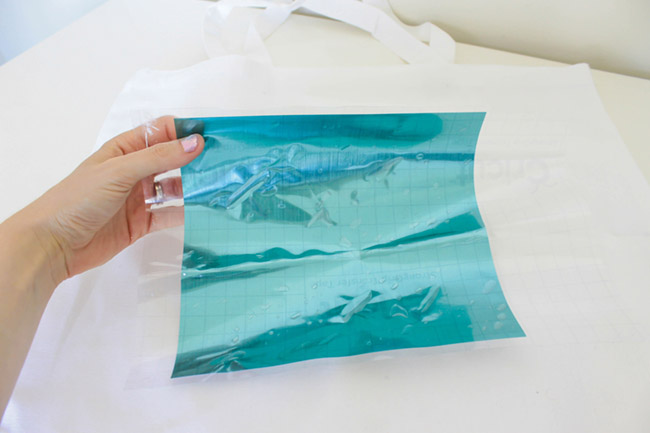
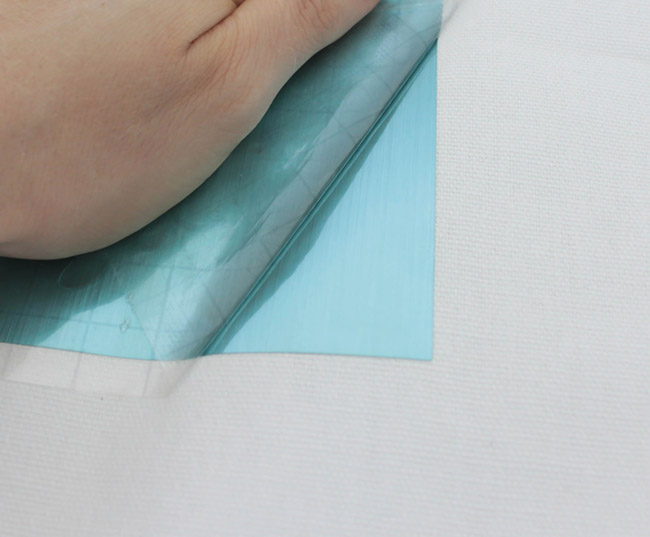
FIRST: Use transfer tape to apply the blue rectangle to the tote.
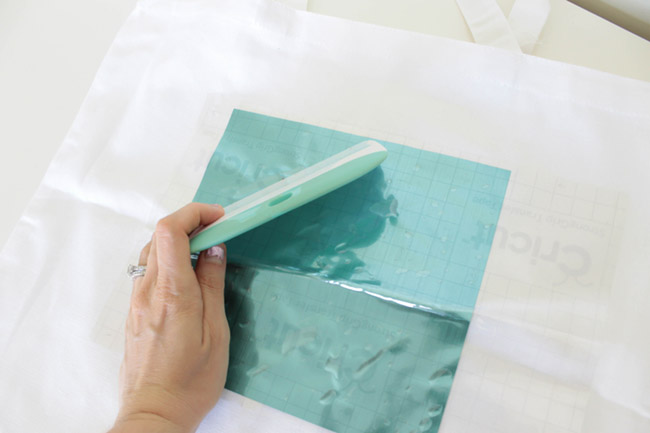
Firmly press down the rectangle with your hand or a large Cricut Scraper.
Remove the transfer tape slowly in a diagonal direction.

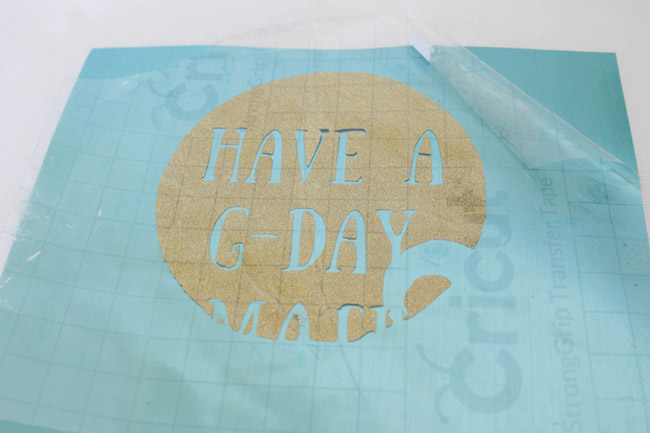
THEN: Use transfer tape to apply the sun to the middle of the rectangle.
After placed, use the transfer tape to apply the koala at the bottom of the sun.
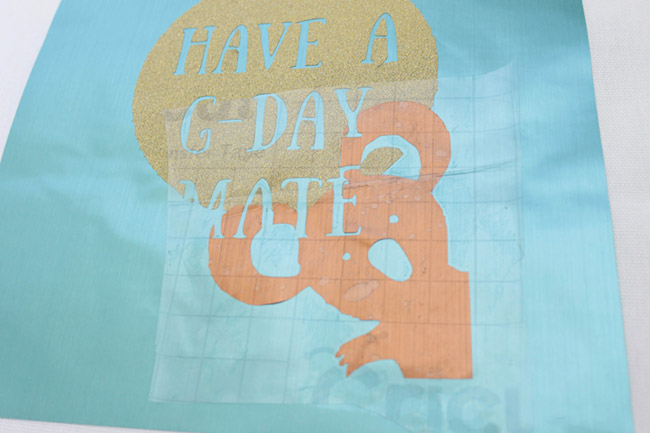
Then use the transfer tape to place the Have a G-Day Mate.
Voila!
People will be loving your bright and shiny message that you carry wherever you go!
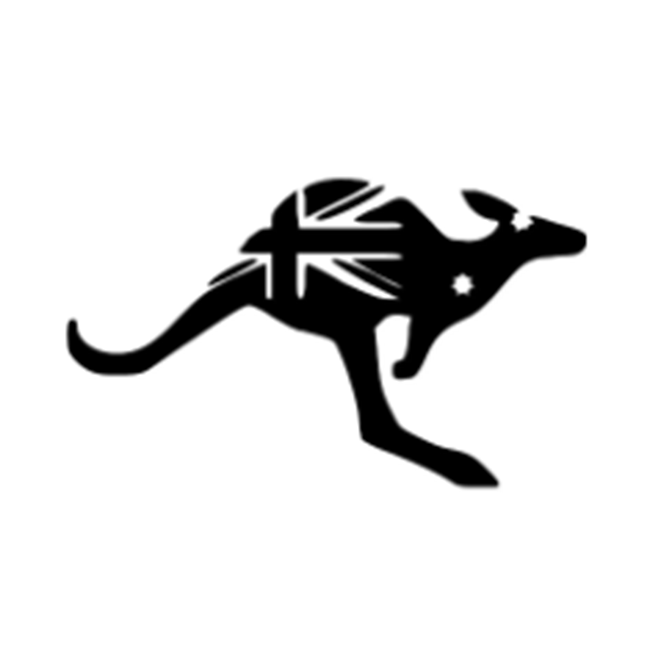
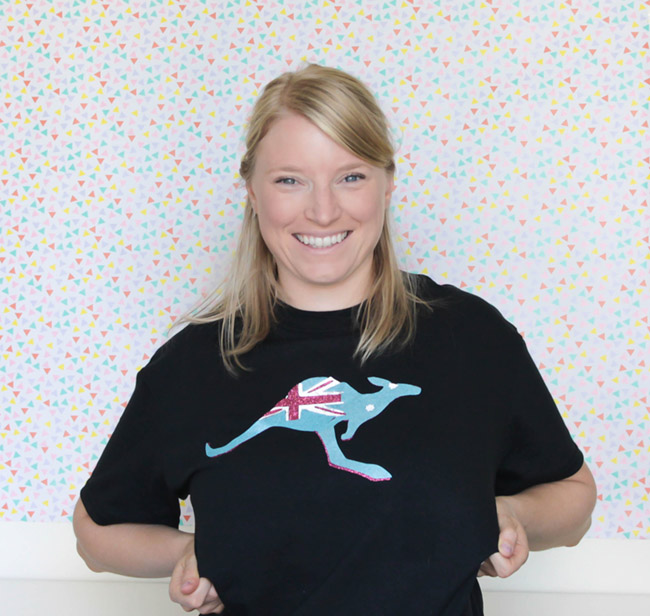
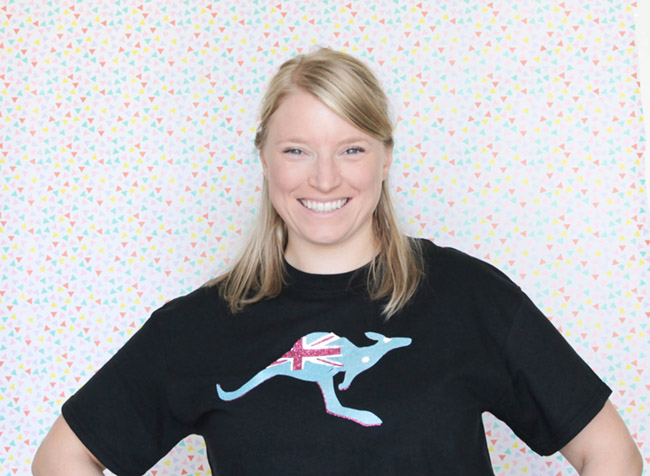
Kangaroo Australian Flag Shirt
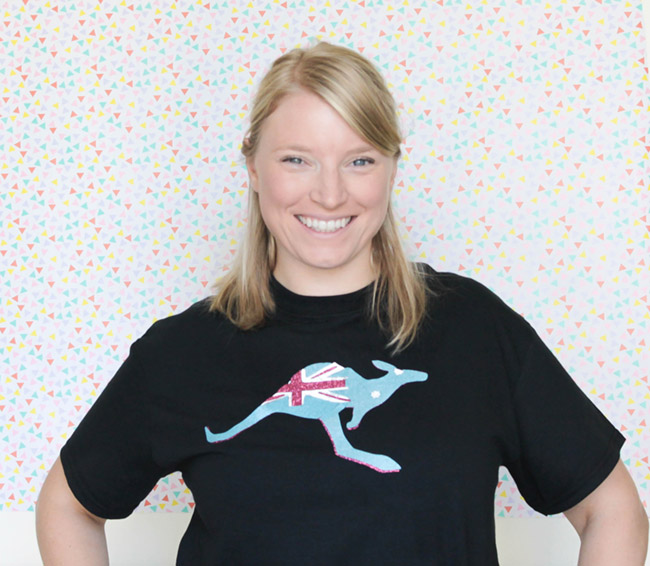

We love the modern twist on the Australian flag here. Plus, who doesn’t love kangaroos? We would wear one on our shirt any day! P.S. – That me Emily!
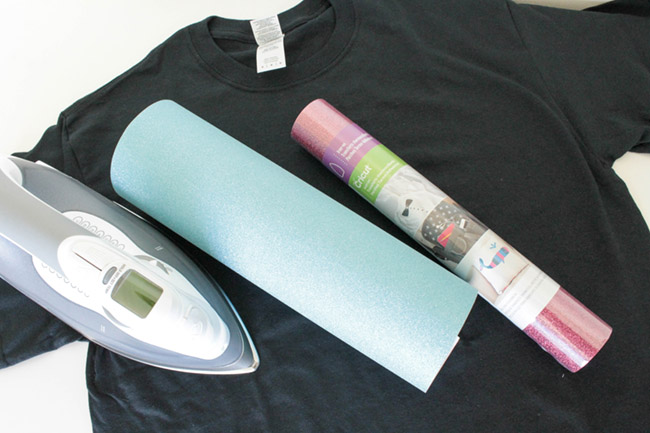
Here is what you need:
- Cricut ® Iron On Red Glitter
- Cricut Iron on Blue Glitter
- Cricut Iron on Silver Glitter
- Iron
- Standard Cutting Mat
- Cricut Weeder
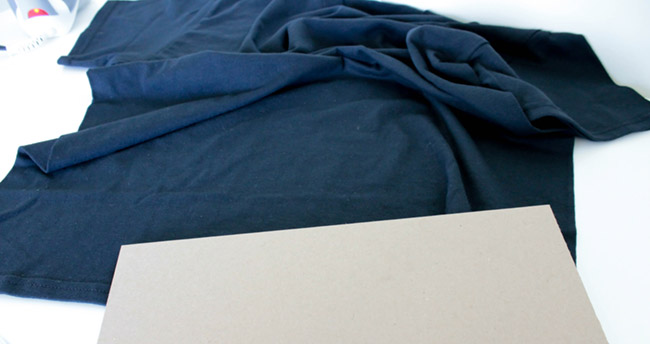
- Cotton Shirt
- Piece of Cardboard
- Towel
Prep
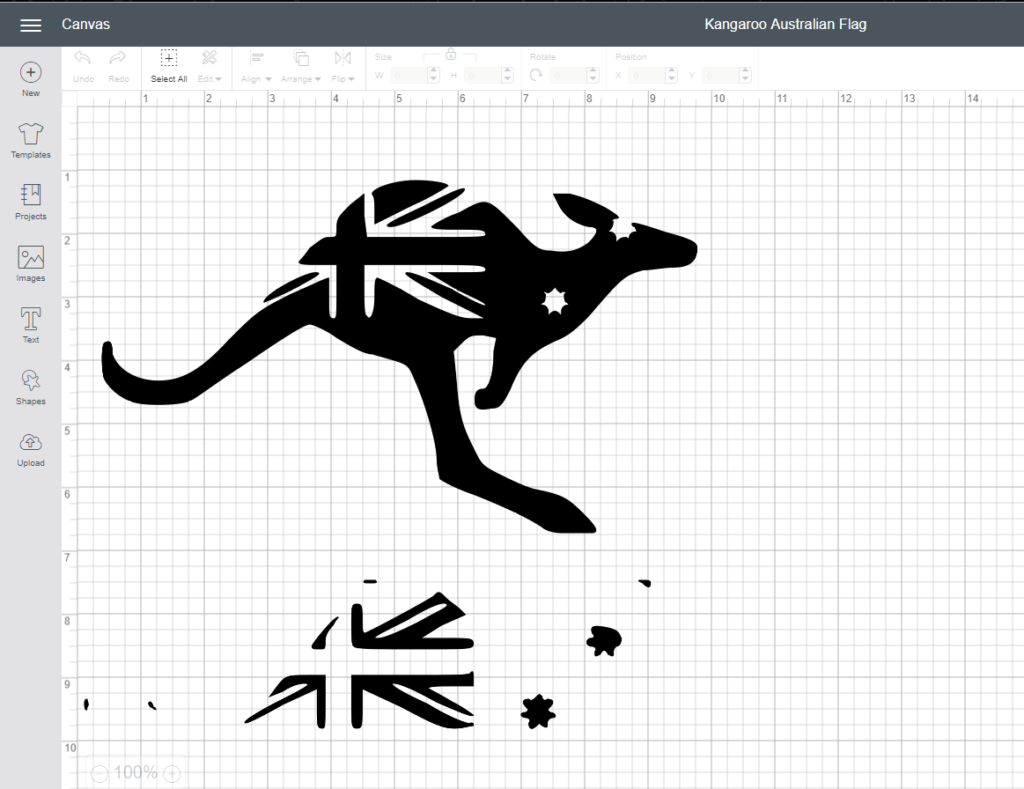
You first want to save these 2 photos on your computer. They are already cut into segments for the project as we will be adhering these in 2 sections. Follow the same directions as above with removing the white and saving it as a cut image.


Size the Kangaroo to 9.234X5.463
Size the Flag to 9.354X5.645

Cut
Follow the instructions in Design Space to cut the image from an iron-on. The most important thing to remember is to put the glitter side down on the mat and make sure you put on mirror image when you are cutting.

First cut the kangaroo out of the iron-on red glitter.
Then cut the kangaroo out again on the iron-on blue glitter.
Then cut the flag out of the sliver iron on glitter.
Assembly
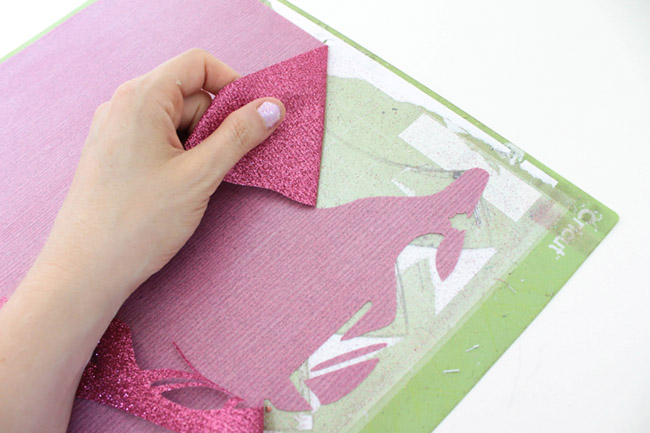
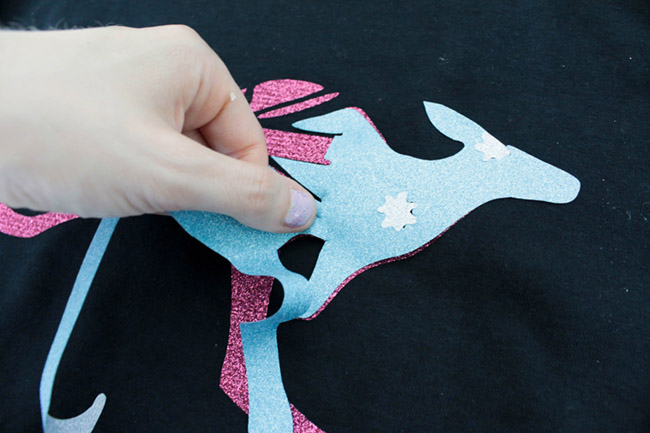
Weed the red kangaroo out of the iron on red glitter.
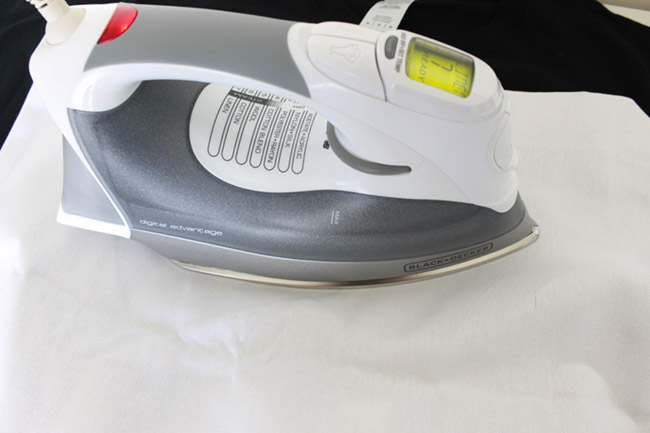
Heat up your iron and put it on linen setting. While it is heating up, put a little piece of cardboard in between the front and the back of the shirt.

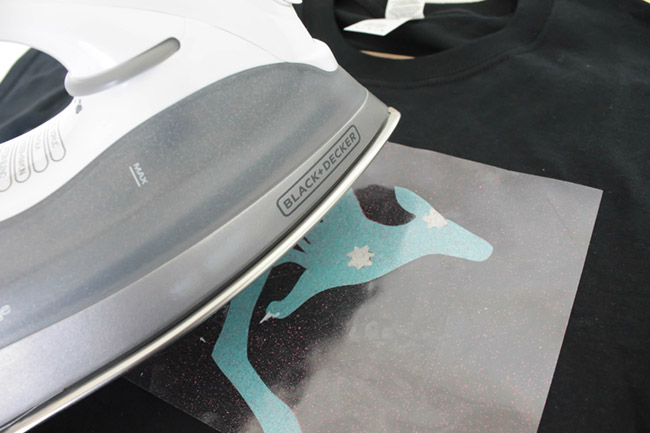
Then position the kangaroo on your shirt and press down. Cover it with a towel and press down with the iron. Hold it for 10-15 sec before moving down the image. This makes the image adhere the best.
Peel away the transfer tape and you have your kangaroo ironed on!
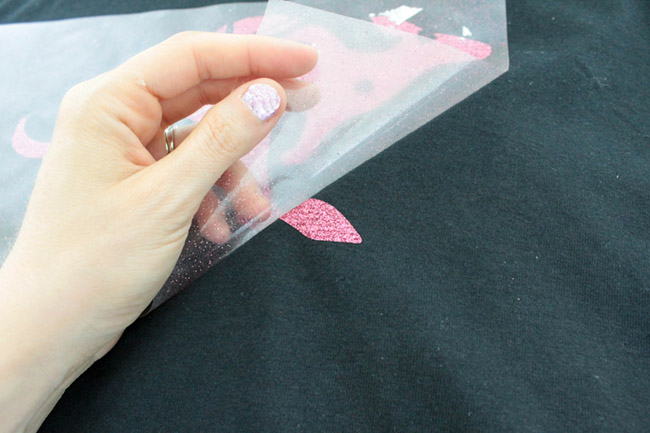
THEN: Weed out the silver flag and the blue kangaroo and add it to the top of the red kangaroo. You will iron these together.
Be sure to use the towel again so the film doesn’t get too hot when you are ironing it.
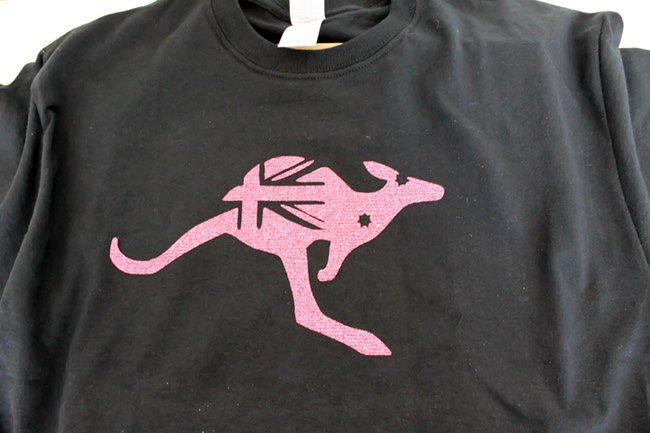
Once fully cooled peel back the transfer tape and reveal your ironed on kangaroo Australian flag.
We love this shirt and hope our Aussie friends will to!


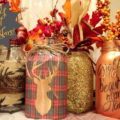
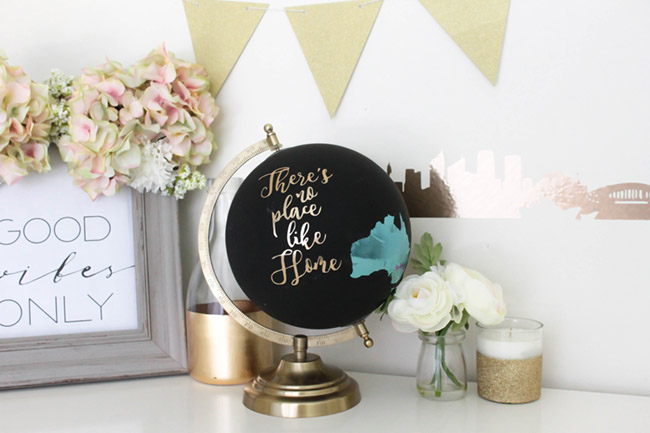
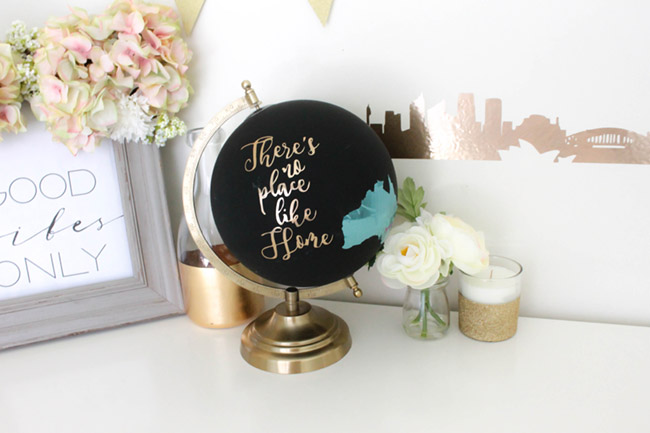
There is No Place Like Home Decorative Globe
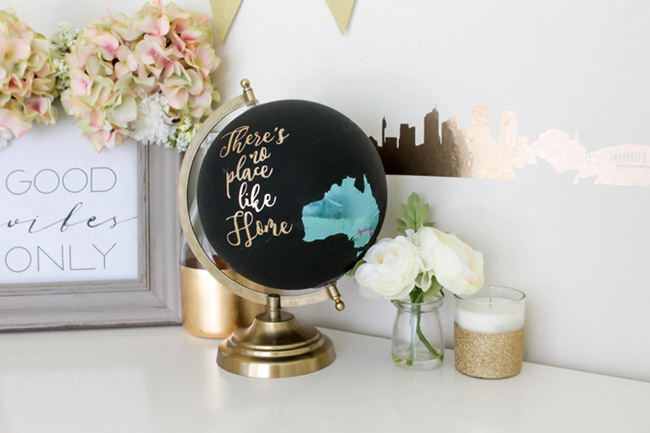
This pretty gold and black globe is perfect for decorating. We gave it a pretty, Australian flair, and lovely saying that would look phenomenal in any room! The heart detail in Sydney we love but you could put any city in Australia too! We pick this black globe up at a store but you can easily paint a globe with black paint and get the same effect.
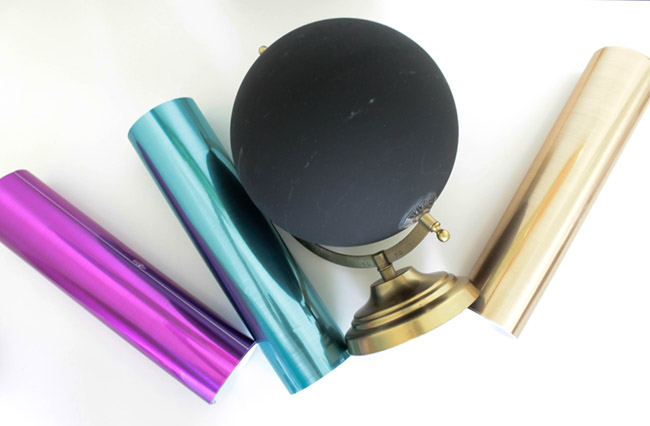
Here is what you need:
- Globe
- Cricut ® Gold Vinyl
- Cricut ® Ice Blue Vinyl
- Cricut ® Purple Vinyl
- Cricut ® Transfer Tape
- Cricut ® Standard Cutting Mat
- Cricut Weeder

Prep
You first want to save these 3 photos on your computer. Follow the same directions as above with removing the white and saving it as a cut image.

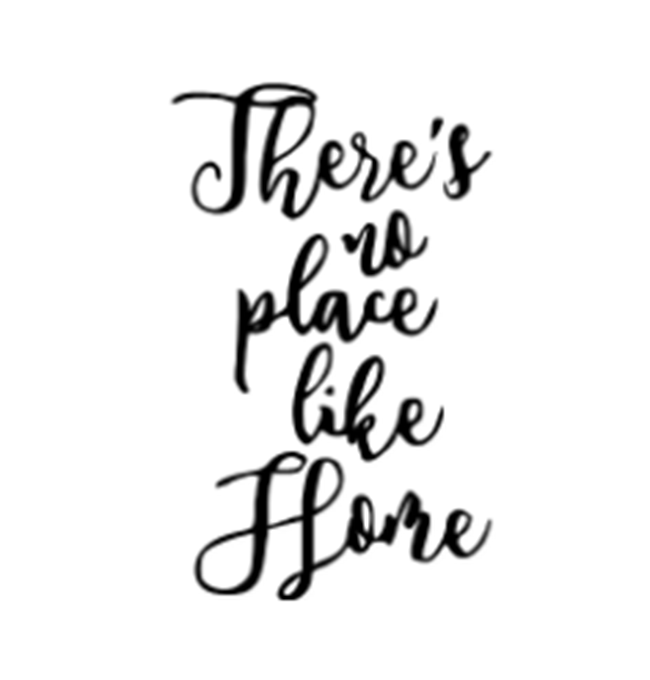


Size the words depending on how large your globe is. What fit our globe best was 6: long. You will also size your continent of Australia about 4” long and Sydney as 1 inch.
You will also make a small ½” heart on your canvas with the shapes in the design space.
CUT
Mat 1- 8X8 piece of Gold Vinyl for There is No Place Like Home
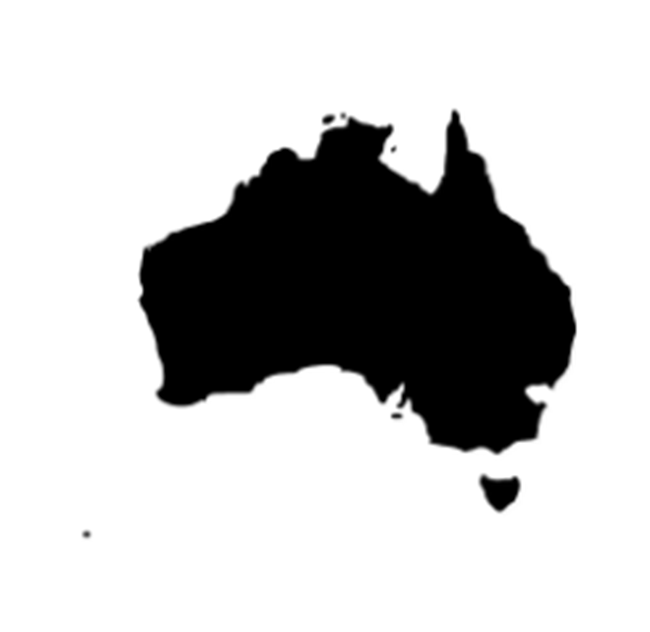
Mat 2- 6X6 Ice Blue Vinyl for the Australia continent.
Mat 3- 2X2 Purple Vinyl for the Sydney Wording & small hear
Assemble
Weed out the words from the vinyl sheet.
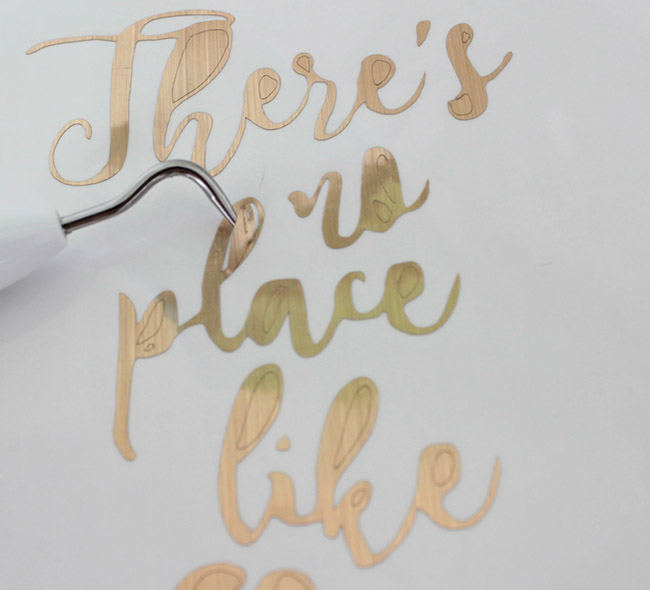

Transfer the words with transfer tape and then position on the globe where you would like it.
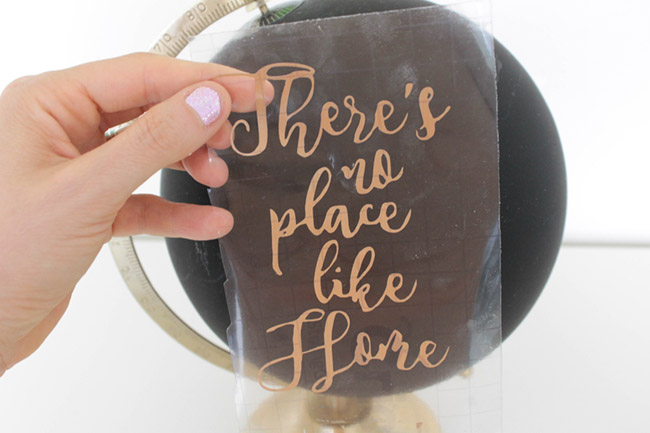
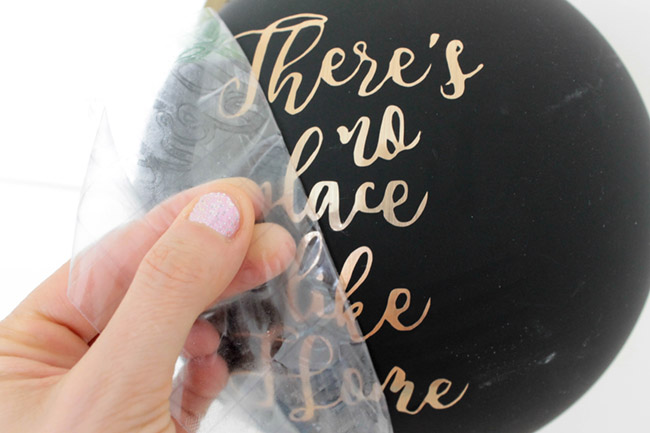
Slowly peel away the transfer tape in a diagonal direction to adhere the letters to the globe.
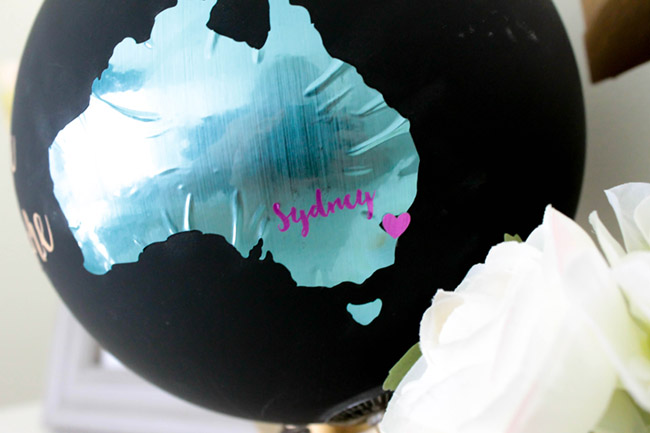
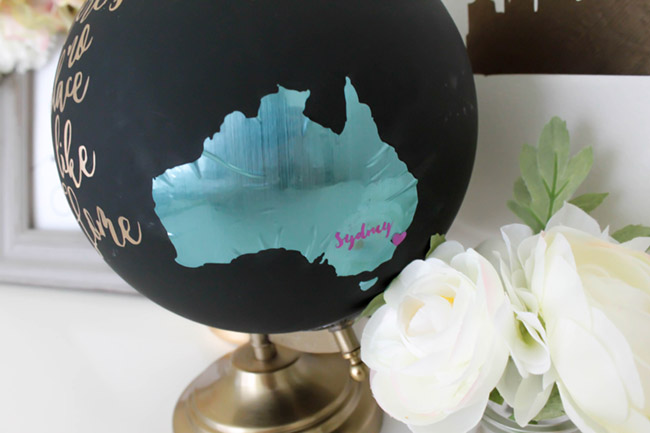
THEN: Transfer the Australian continent with transfer tape and adhere to the bottom portion of the globe. Feel free to put it anywhere you choose if another location tickles your fancy.
Once the continent is in place, transfer the Sydney and the heart to transfer tape and adhere it on top of the continent in the bottom right section.
Once that is transferred, you have your globe!
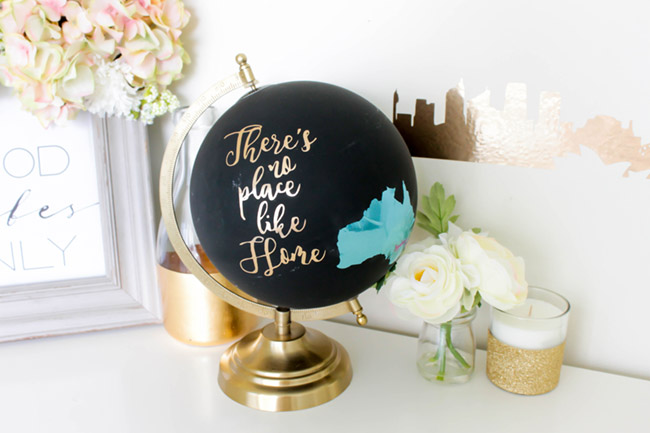
For a bonus, we vinyl cut gold of the Sydney skyline to decal our wall and really create a decorative area for the globe. Here is the skyline if you want to do that too.


We just love how it looks together and the touching message it adds to a home.
Cheers Lovelies!